
Are you tired of individually typing out emails to multiple recipients every time you want to share an update or coordinate a project? What if you could instantly send a message to a group of contacts with just a few clicks?
Well, In our previous article, we delved into the detailed process of creating a group in Outlook. Today, we’ll explore another popular email platform and assist you through the steps of how to create an email group in Gmail. Whether you’re a seasoned Gmail user or new to the platform, you’ll discover how to simplify your communication and save valuable time by creating email groups in Gmail. Let’s begin!
How to Create an Email Group in Gmail With Few Simple Steps
Follow these simple yet powerful steps to create your very own email group in Gmail.
Step 1: Accessing Google Contacts
To begin, let’s access the Google Contacts page by clicking on the “Google Apps” button located in the top-right corner of Gmail inbox. From the dropdown menu, select the “Contacts.” and it will lead you to the Google Contacts interface where you can manage your contacts and create email groups. Or else you can access it by contacts.google.com.

Step 2: Creating a New Label
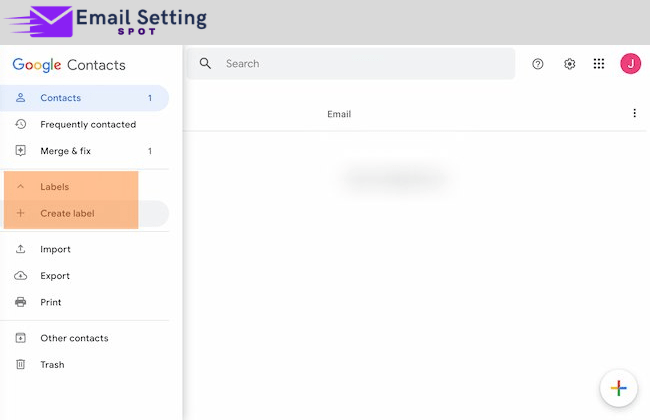
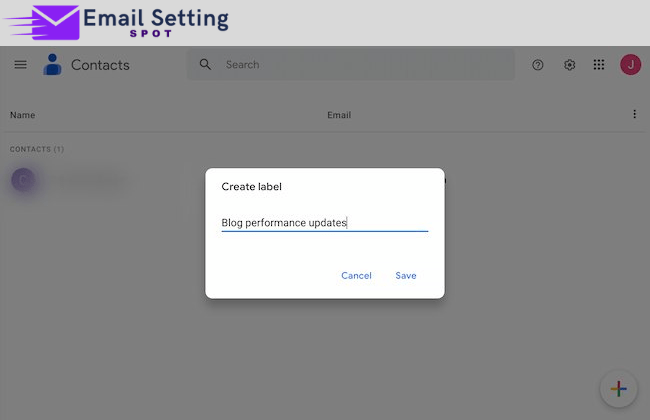
Once you’re in Google Contacts, at the sidebar on the left side of the page. You’ll find various options, including Labels. Click on “Labels” to access the label management section. Here, you can create a new label specifically for your email group. Simply select the “Create label” option and a pop-up will appear, prompting you to provide a name for your new label. Choose a descriptive name that reflects the purpose or identity of your email group.
Step 3: Adding Contacts to the Label
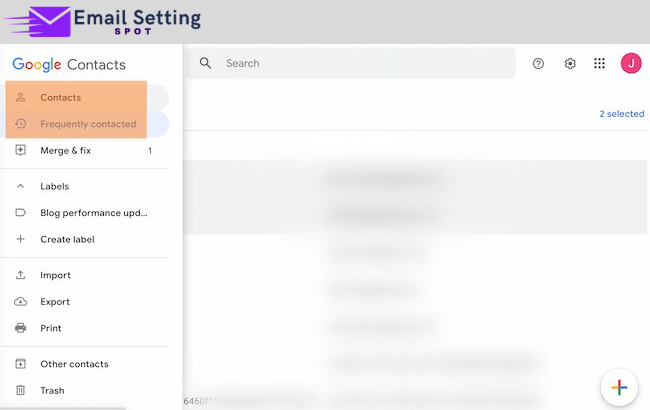
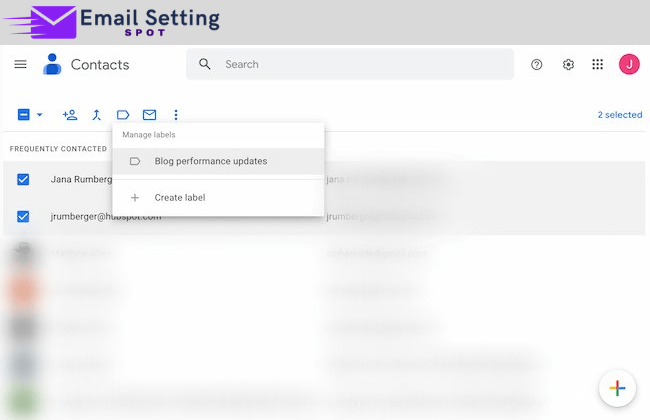
With your label created, it’s time to add contacts to your email group. Select the desired contacts from your existing contacts list. You can choose them one by one or Select each contact by holding down “Ctrl (or Command on a Mac)“. Once you’ve made your selection, assign these contacts to the label you created earlier.
Step 4: Composing an Email to the Group
Now that your email group is set up and your contacts are assigned to the label, you’re ready to compose an email and send it to the entire group. Open the Gmail compose window, either by clicking on the “Compose” button or by using the keyboard shortcut “C.” In the recipient field, enter the name of the label you created for the email group.
Gmail will automatically populate the recipient field with the contacts associated with that label. Using the “Send” button, you can send your message to all members of the email group as you normally would.

Step 5: Managing and Editing Email Groups
Managing and editing your email groups is a breeze in Gmail. You can edit the group by going back to the Google Contacts page and finding the label. From there, you can add or remove contacts as needed, ensuring that your email group stays up to date with the latest recipients. Additionally, you can modify the label settings, such as renaming the label or changing its color, to suit your preferences and improve the organization of your groups.
Tips for Efficient Email Group Management
To ensure effective email group management, consider the following tips:
- Keep the group up-to-date: Regularly review and update the contacts in your email group to ensure the recipient list remains accurate.
- Utilize contact labels for a better organization: Create additional labels to categorize your contacts further. This can help you manage multiple email groups efficiently.
Conclusion
In conclusion, knowing how to create an email group in Gmail allows you to streamline your communication and save valuable time when reaching out to multiple contacts simultaneously. So, don’t hesitate to create your own email groups in Gmail and enjoy the benefits of efficient and organized communication with just a few clicks.