
Hey there! So you hit Send on an email. And boom it flies away. But wait. What if someone else reads it? Like, someone who shouldn’t? That’s scary, right?
These days, keeping stuff private isn’t just nice. It’s a must. Good news though! Outlook makes it super easy to lock your emails. Only the right person can read them. Pretty cool, huh?
Maybe you’re sending secret work files. Or bank info. Or just personal stuff. Locking your email puts a shield around it. Bad guys can’t peek!
This 2025 guide shows you exactly how to do it. On your computer. On the web. Even on your phone! We’ll look at Microsoft’s lock types. We’ll check if your email is safe. And we’ll fix problems if they pop up. Ready? Let’s lock things down!
What Does Email Locking Mean?
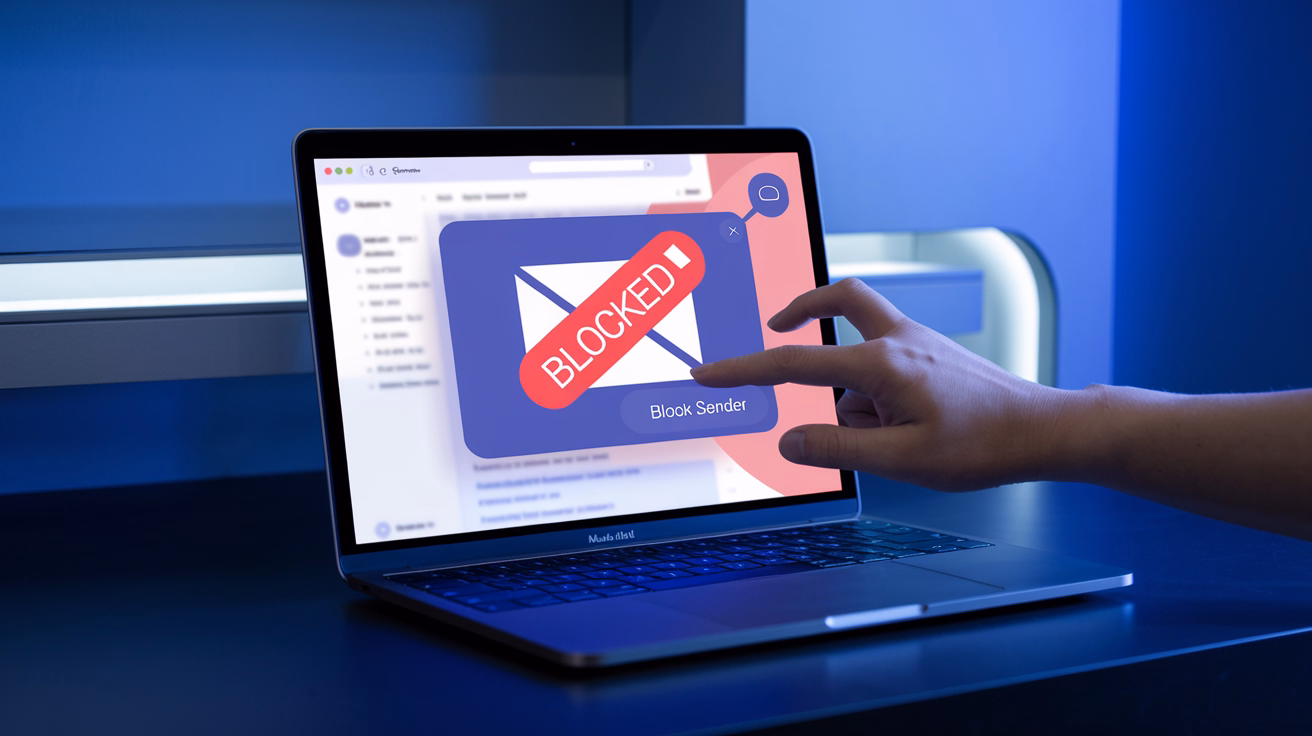
Okay, so email locking (they call it encryption) is like this. It scrambles your message. Makes it all mixed up. Only your friend can unscramble it and read it. Outlook uses something called OME. That’s short for Office Message Encryption. Big words, I know! But it just means your email body and files get locked up tight.
There are two main lock types in Outlook:
Lock-Only: This stops bad people from reading your email. But your friend can still share it or print it if you let them.
Do Not Share: This one’s stricter. Your friend can’t share, print, or copy your email. It stays between you two!
When you send a locked message, Outlook does all the hard math stuff. It makes secret keys and keeps them safe on Microsoft’s computers. You just pick your lock type. Hit send. Outlook does the rest!
Locking emails is great for sending contracts. Or money stuff. Or any private info. Think of it like this. A regular email is like a postcard. Anyone can read it! But a locked email? That’s like a safe. Only you have the key!
Lock Emails on Your Computer (Windows or Mac)
The Outlook app on your computer gives you all the lock options. Here’s how:
Steps:
- Open Outlook. Click New Email.
- Write your message like normal.
- Up top, click the Options tab.
- Look for the Lock button. It’s in the Permission area.
- Click Lock. Then pick one:
- Lock-Only
- Do Not Share
- See that little lock picture? That means your email is safe now!
- Add files if you want. Then click Send.
When your friend gets the email, here’s what happens. If they use Outlook too, they just open it. Easy! If not, they go to a safe Microsoft page. They prove who they are. Then they can read it.
Method 2: Lock Emails on the Web
Using Outlook in your browser? No problem! It’s just as easy.
Steps:
- Go to Outlook.com. Or Office 365 Outlook. Sign in.
- Click New mail to write.
- See that Lock button? It looks like a tiny padlock. Click it!
- A little message pops up. It says “This message is locked.”
- Want more control? Click the arrow next to Lock. Pick Change permissions.
- Choose Lock-Only or Do Not Share. Pick what feels right!
- Add files. Click Send.
Your locked email now travels through Microsoft’s safe network. People outside your work get a special link. They click it. Prove who they are. Then read your message safely!
Method 3: Lock Emails on Your Phone
On the go? You can lock emails from your phone too!
Steps:
- Open the Outlook app. iPhone or Android works!
- Tap the pencil icon to write.
- Type who gets it. Add a subject. Write your message.
- Tap the three dots (⋯) up top.
- Pick Lock or Lock & Stop Sharing.
- See the lock symbol? Your email is safe!
- Send it like normal.
Your friend sees “Locked” on the message. They can open it safely. Just like on a computer!
How Do Locked Emails Look to Your Friends?
When someone gets your locked email, here’s the deal:
If they use Outlook or Office 365, they open it right away. No extra steps!
If they use Gmail or Yahoo? They get an email with a link. They click it. Type in a code or sign in. Then they read your message safely.
Locked emails are easy to spot. They have a lock picture. And they say “This message is locked.” Files are safe too. No one can open them outside the safe session!
Method 4: Lock Just the Files
Sometimes your email is fine. But that file? That needs locking!
You can lock files before sending. In Word, Excel, or PowerPoint, go to File. Then Info. Then Protect Document. Pick Lock with Password. Make a password. Save the file. Attach it to your email. Tell them the password another way. Never in the same email!
This works great when your friend doesn’t use Office 365. But they still need that safe file.
How to Check Your Email Is Locked
After you hit send, Outlook shows you it’s locked. Look for:
- A lock picture in the subject line
- A message saying “This is locked”
- The Permissions tab showing your lock type
Want to double-check? Go to Sent Items. Open the email. The lock stuff is still there!
Method 5: Lock All Emails Automatically
Send lots of secret emails? Make Outlook lock them all!
Steps:
- In Outlook, go to File. Then Options. Then Trust Center. Click Trust Center Settings.
- Click Email Security.
- Check the box that says “Lock contents and files for outgoing messages.”
- You can also click Settings. Then Get Digital ID if your work uses special certificates.
Now every email you send gets locked. Great for HR folks. Or lawyers. Or anyone with secrets!
Quick Help Table
| What to do | Where to find it | What happens |
| Lock email (computer) | Options → Lock → Pick type | Locks message and files |
| Lock email (web) | Lock button in toolbar | Adds safety banner |
| Lock on phone | Three dots → Lock | Makes message safe |
| Check if locked | Look for lock picture | Shows it’s locked |
| Auto-lock all emails | File → Options → Trust Center | All emails get locked |
When to Use Each Lock Type
Lock-Only is good when you want privacy. But it’s okay if they share it with the right people. Use it for client emails. Or money reports.
Do Not Share is for super secret stuff. Like HR news. Legal talks. Test answers. No one can share, copy, or print it.
Pick the right one. Don’t make things harder than needed!
Fixing Common Problems
Can’t see the lock button? Can’t send locked emails? Check these:
- Make sure your Office 365 plan has message locking
- Update your Outlook app. Old ones might not work
- Check that you use Exchange Online or Office 365 mail
- If your friend can’t open it, tell them to use the link. Or the one-time code
- Still stuck? Save your file with a password. Send it. Tell them the password another way
Best Ways to Stay Safe
Locking works best with good habits. Always check the email address. Use strong passwords. Never send the password in the same email. Don’t forward old locked emails. Make new ones fresh.
Keep your devices safe. Update them. Sign out on shared computers. And teach your friends! When sending locked emails, add a note. Like: “This email is locked for safety. Sign in or use the code to read it.” Saves confusion. Builds trust!
Common Questions
Q: Do I need special apps to read locked Outlook emails?
A: Nope! Anyone can read them through Microsoft’s safe portal. Even without Outlook.
Q: Can I lock emails to Gmail users?
A: Yes! They get a safe link. They verify who they are. Then read it.
Q: Are files locked too?
A: Yep! When you lock an email, files get locked too. Automatically!
Q: Can I unlock after sending?
A: No way. Once it’s locked and sent, it stays locked. But you can send a new one without locks.
Q: Does locking slow things down?
A: Just a tiny bit. Outlook locks it in seconds. People open it right away.
Make Locking a Habit
Make locking normal. Not special. Sending private stuff? Click that lock! Soon it’s like brushing your teeth. Natural!
Write safe too. Don’t put secrets in subject lines. They don’t get locked! Don’t add info you don’t need to share.
Get your team to lock emails too. It keeps data safe. Makes your company look good. Locking isn’t being paranoid. It’s being smart and professional!
Locking emails in Outlook isn’t hard. It’s powerful! A few clicks protect your chats. Secure your files. Make clients trust you more.
That red “urgent” mark gets attention. But that little lock? That gets trust.
Bad guys are getting smarter. Privacy rules are getting tighter. Locking isn’t optional anymore. People expect it. So next time you hit Send, check for that lock. You’ll sleep better!